Replacing O-rings
Pipetting channel o-rings can wear out from repeated use or debris may build up on them over time. This can result in pressure leakage that affects the ability to aspirate and dispense liquid accurately.
Removing O-Rings From the Pipetting Channel
Required Tools:
- O-ring removal tool
- A pair of latex gloves
Prerequisites:
- Channels are positioned such that o-rings are easily accessible. Make sure to leave sufficient space between each channel.
- The instrument is idle or powered off.
- You wear a pair of latex gloves.
To remove o-rings from the channel nozzles:
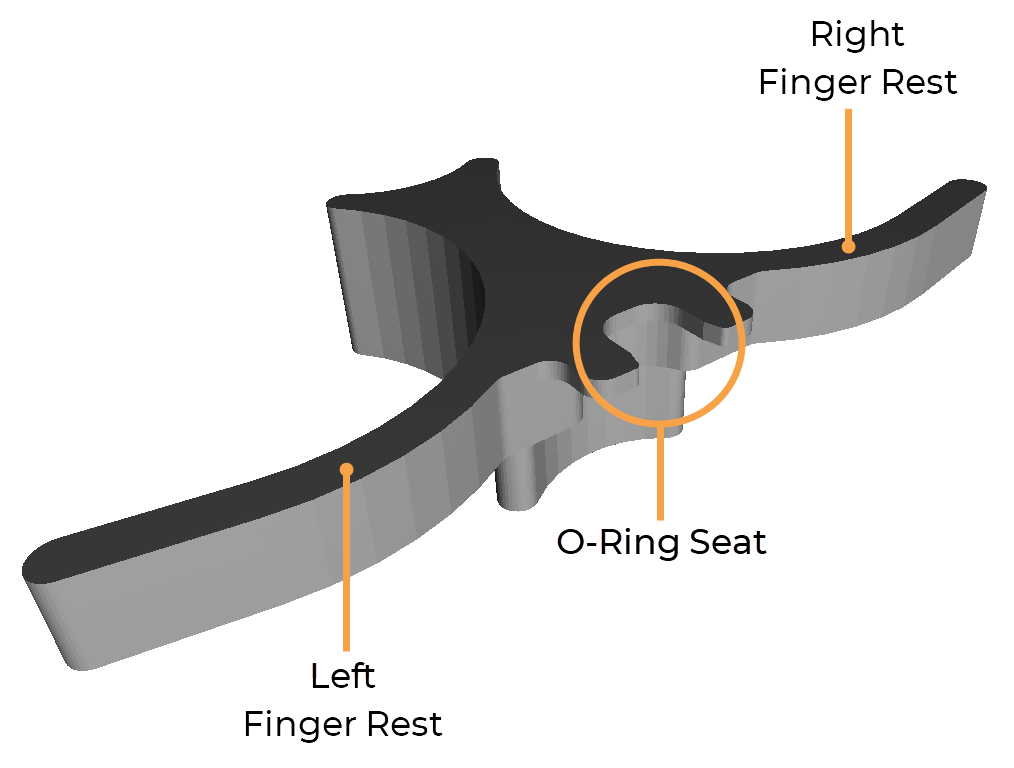
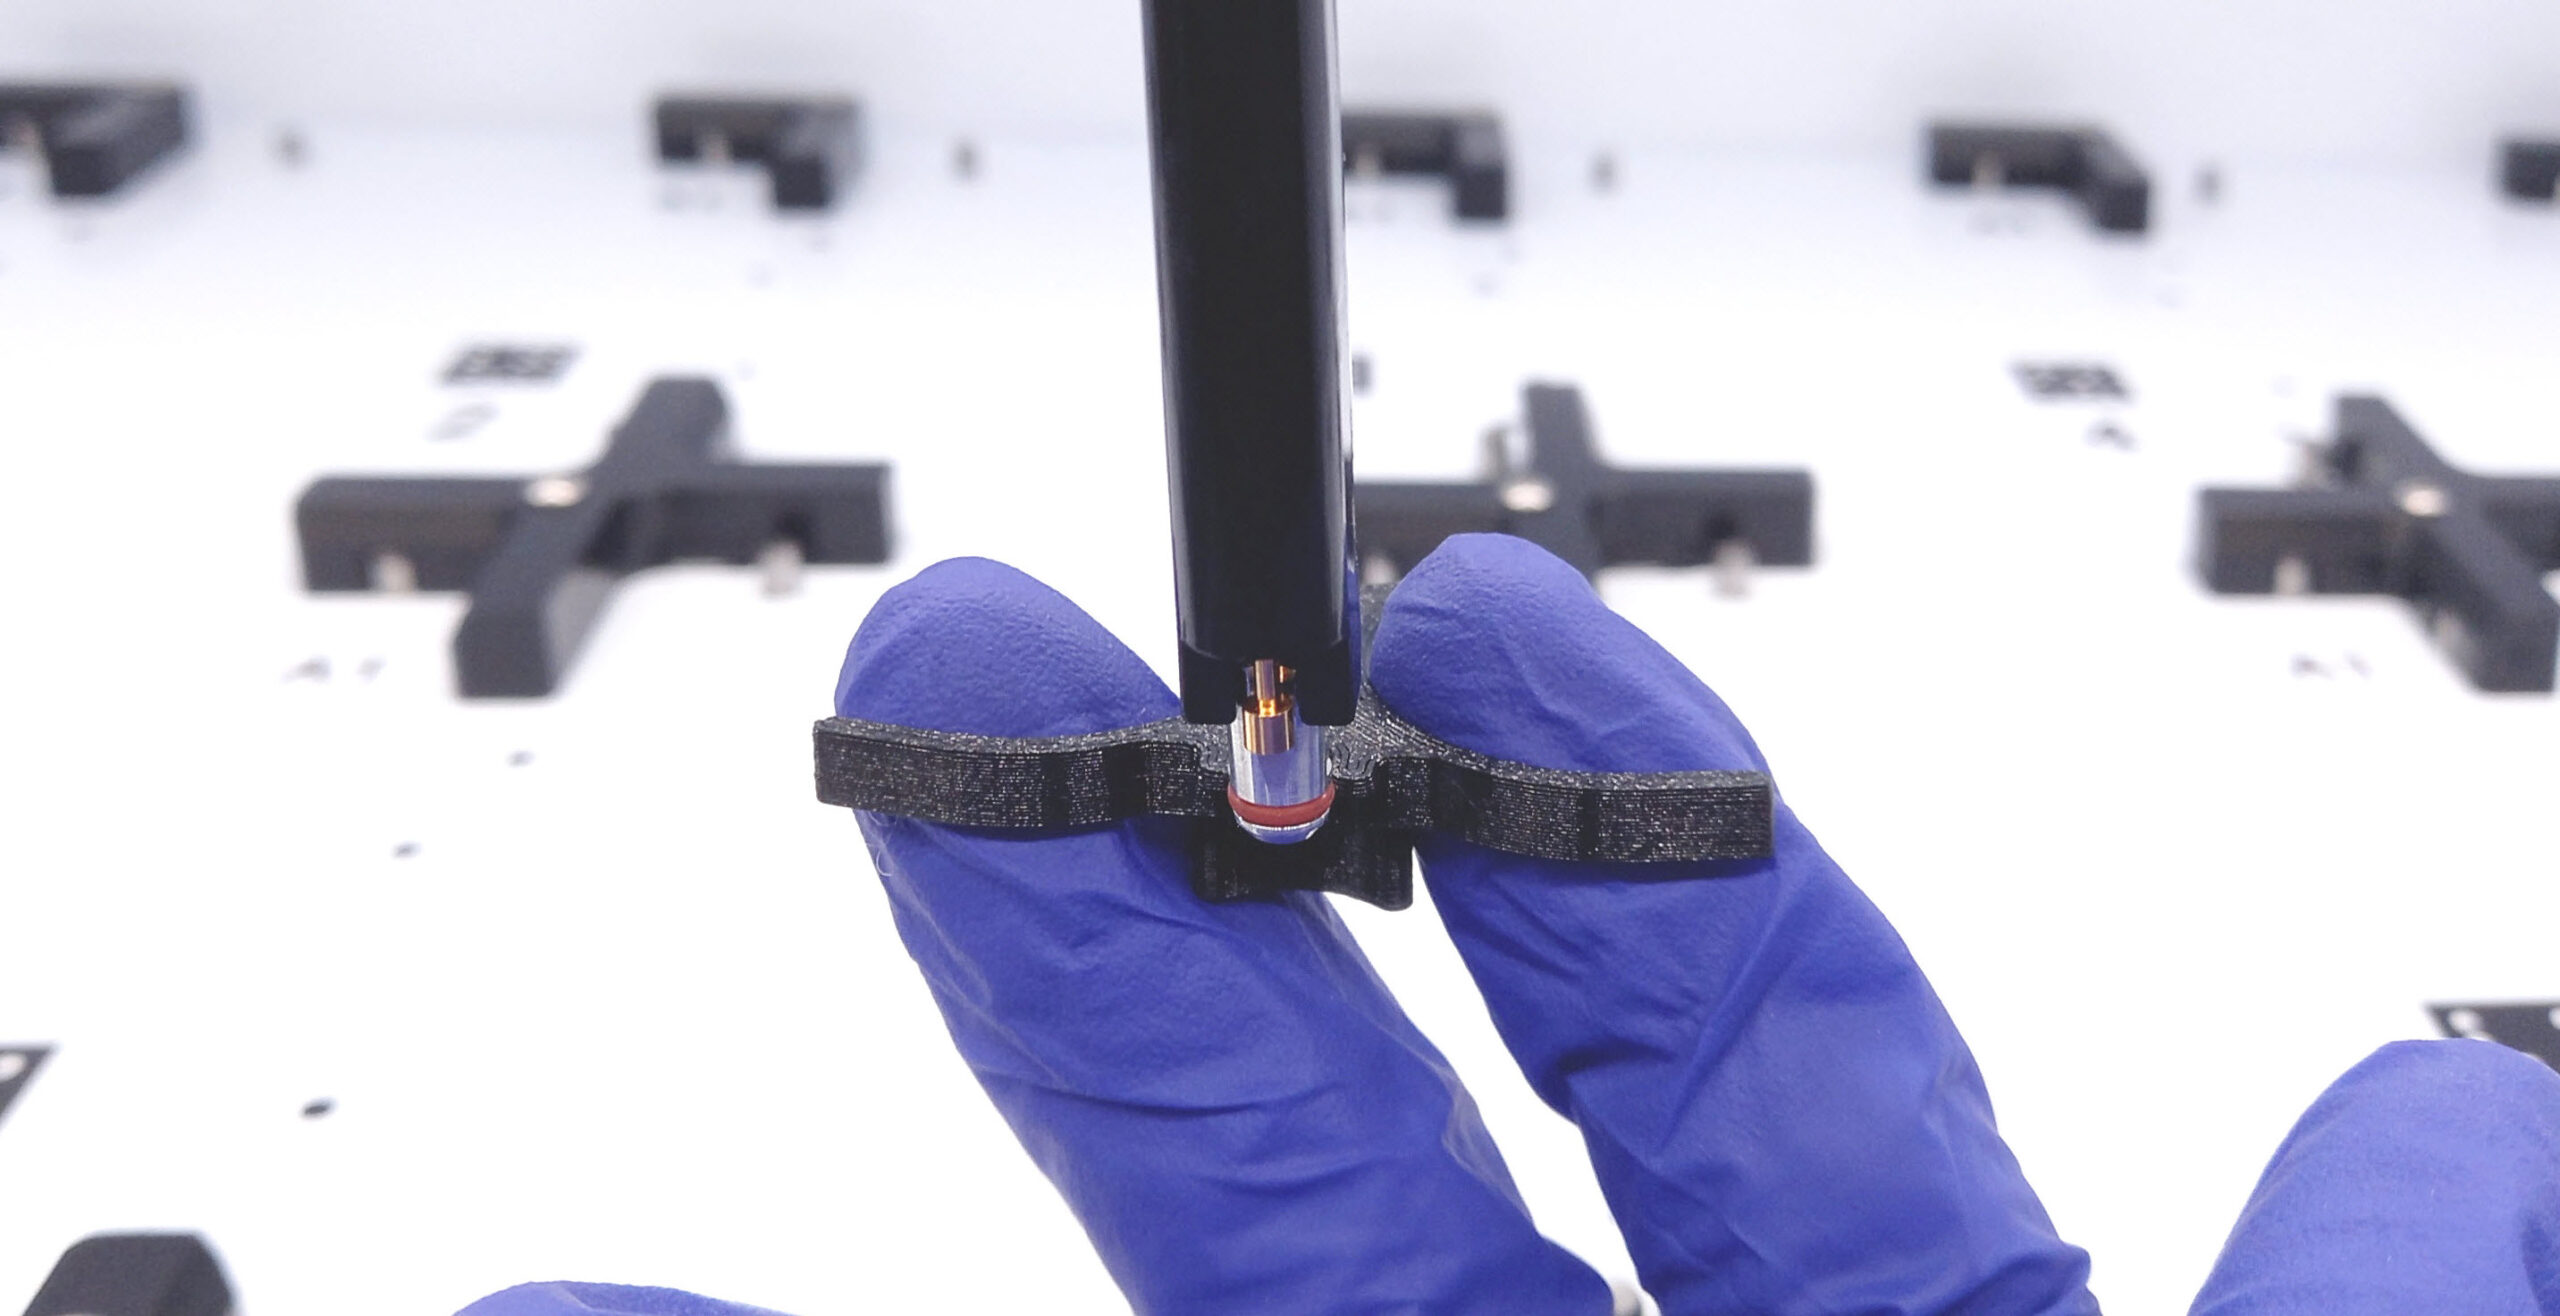
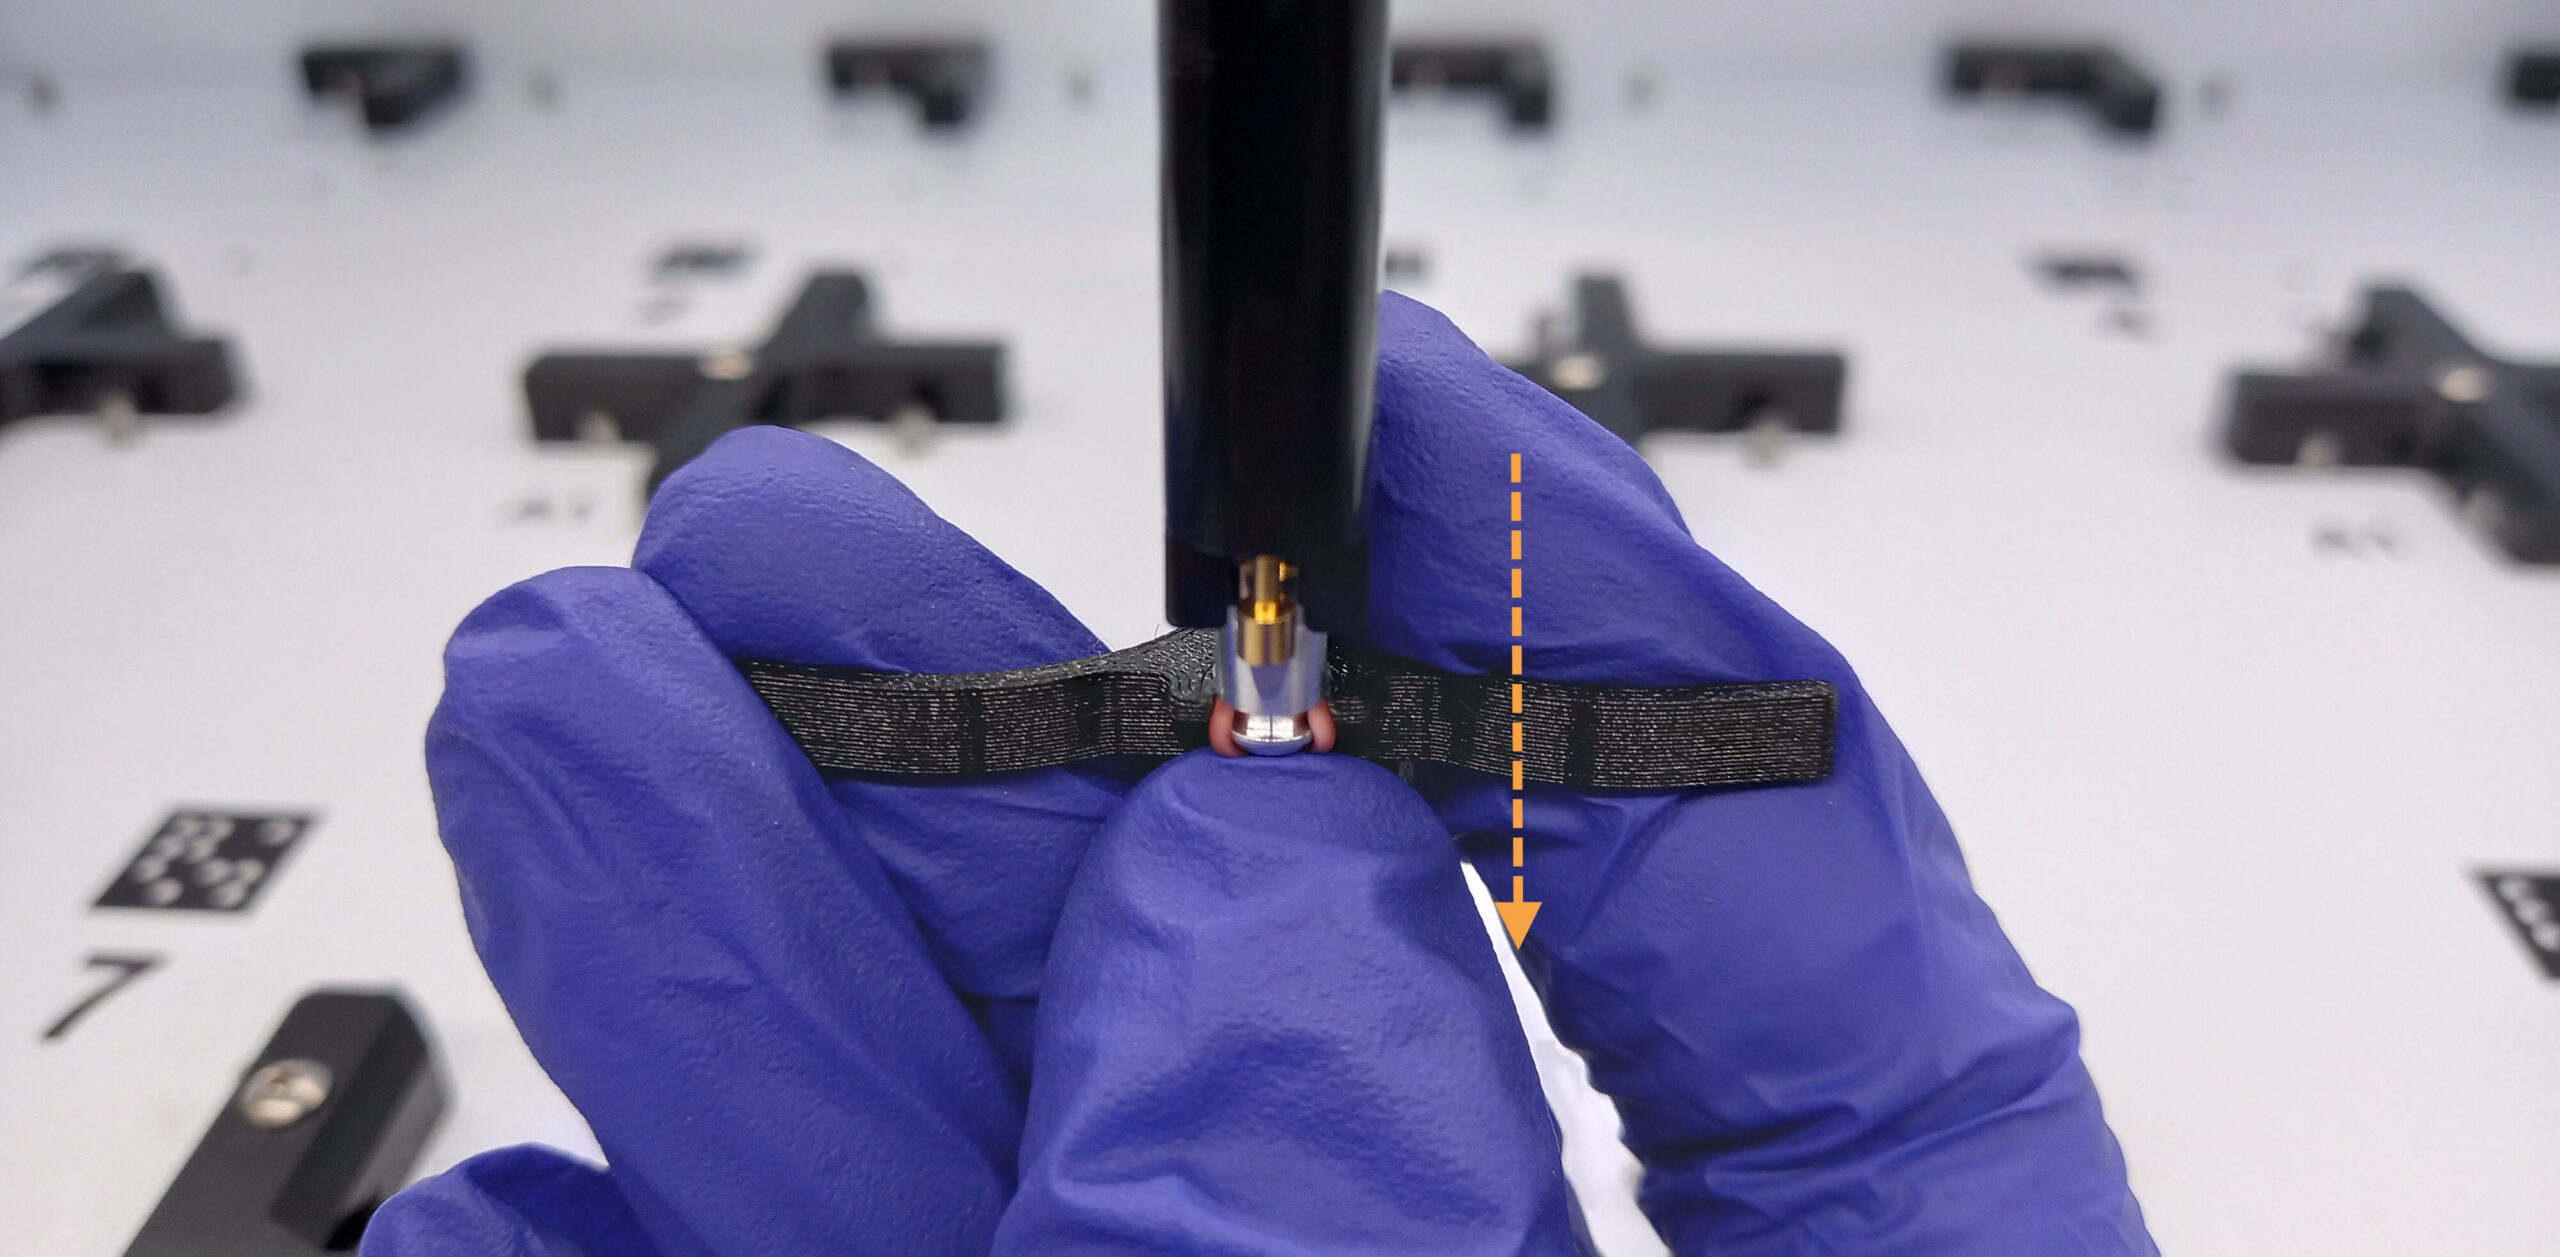
- Put on the removal tool on your index and middle fingers. Make sure the o-ring seat is on the palm side of your hand with the correct upper position as seen in the image above.
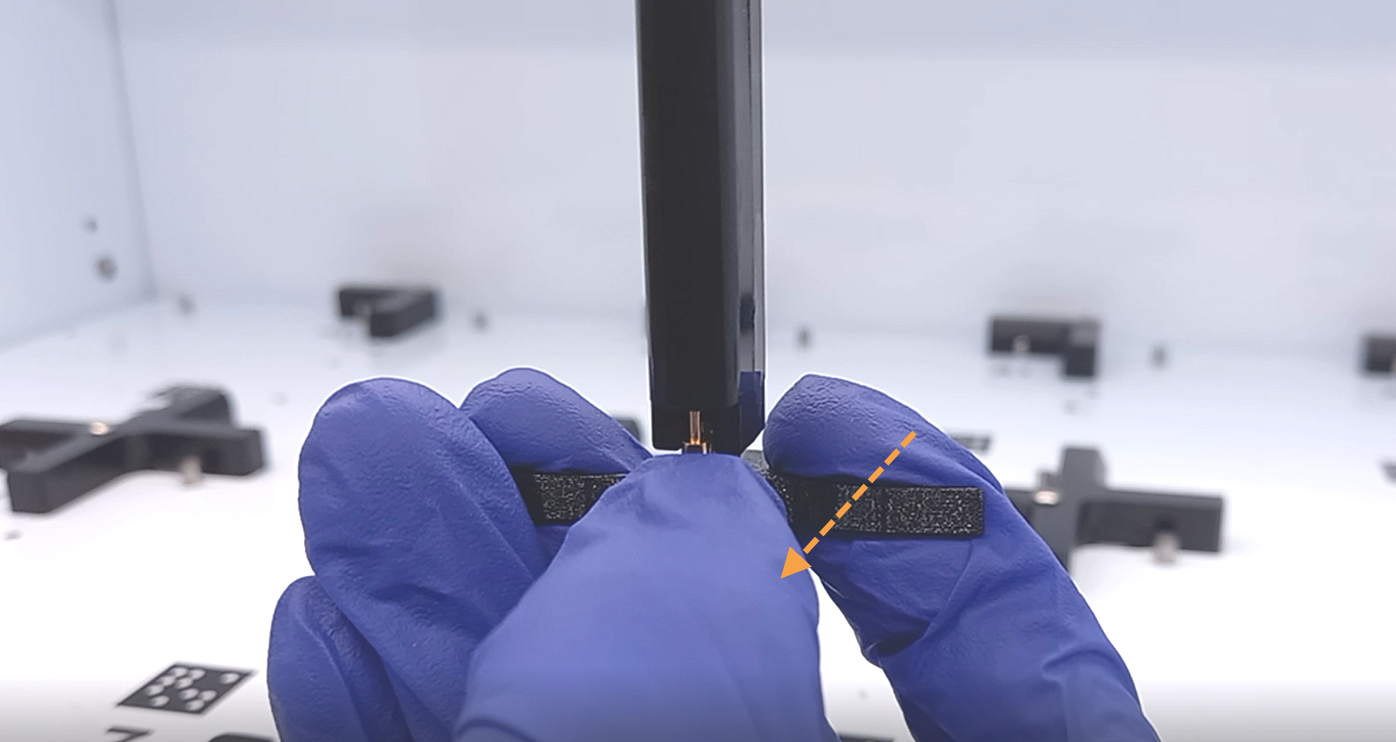
- Position the tool behind the channel nozzle with one hand. Make sure the seat is in line with the o-ring.
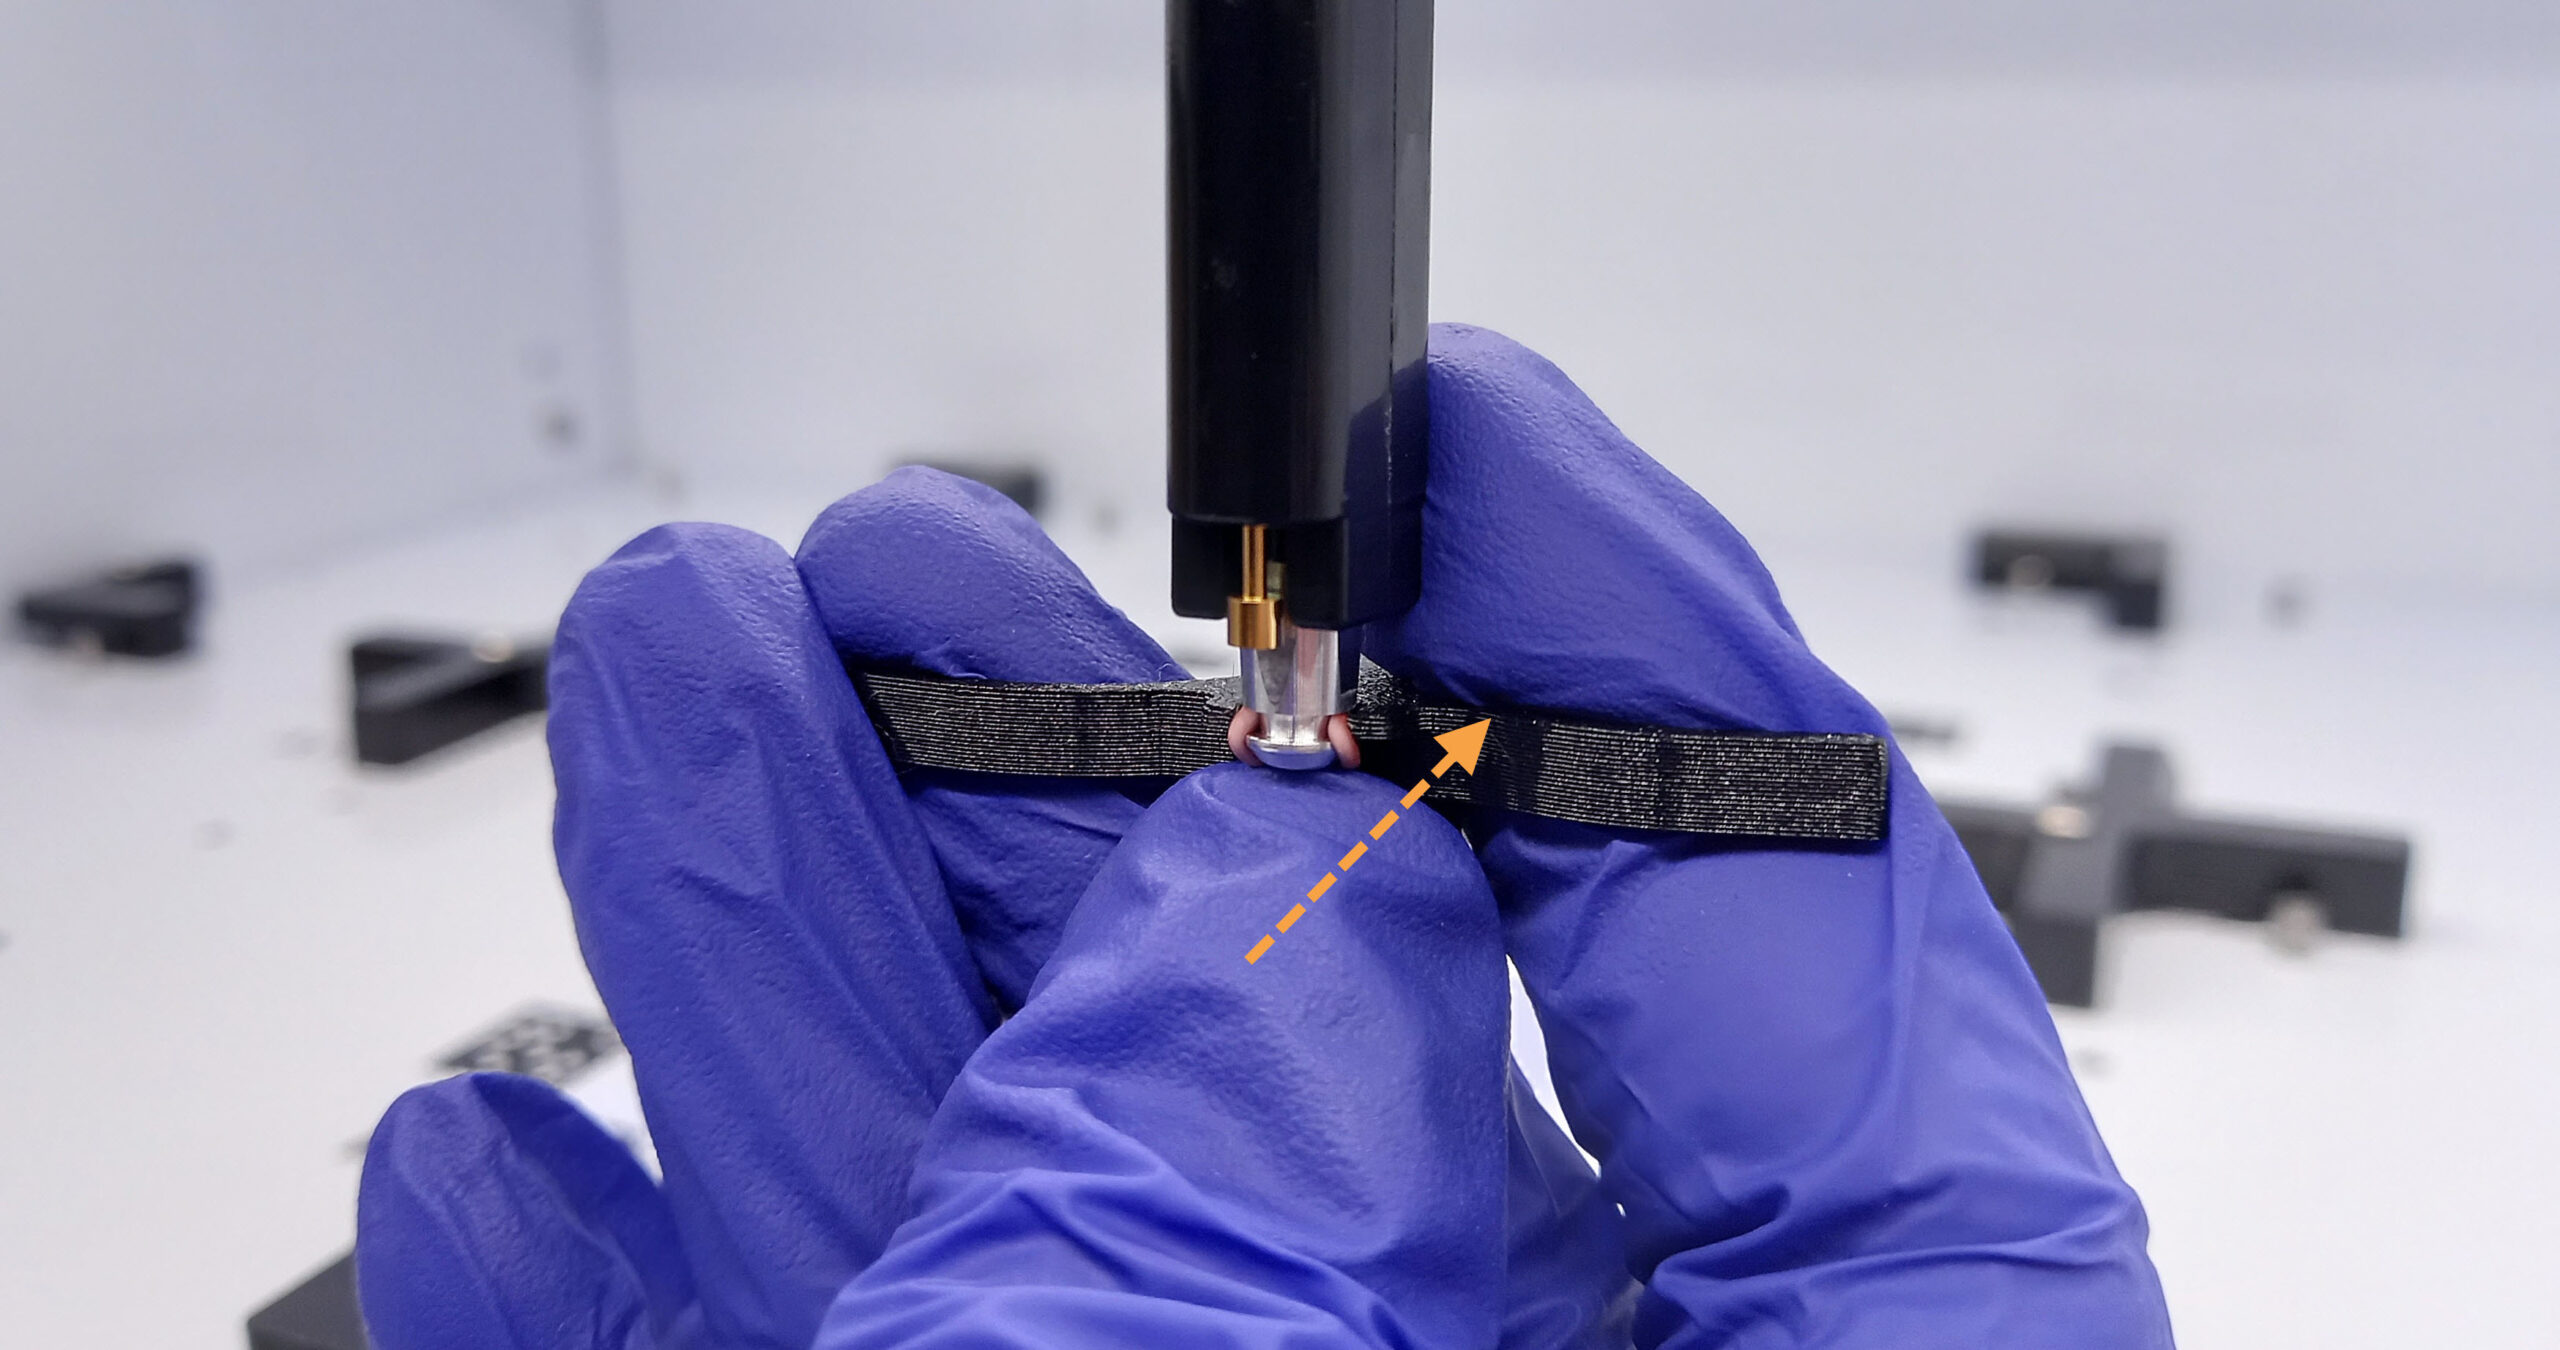
- Use your thumb to hold the channel nozzle. Then, push the tool inwards to loosen up the o-ring.
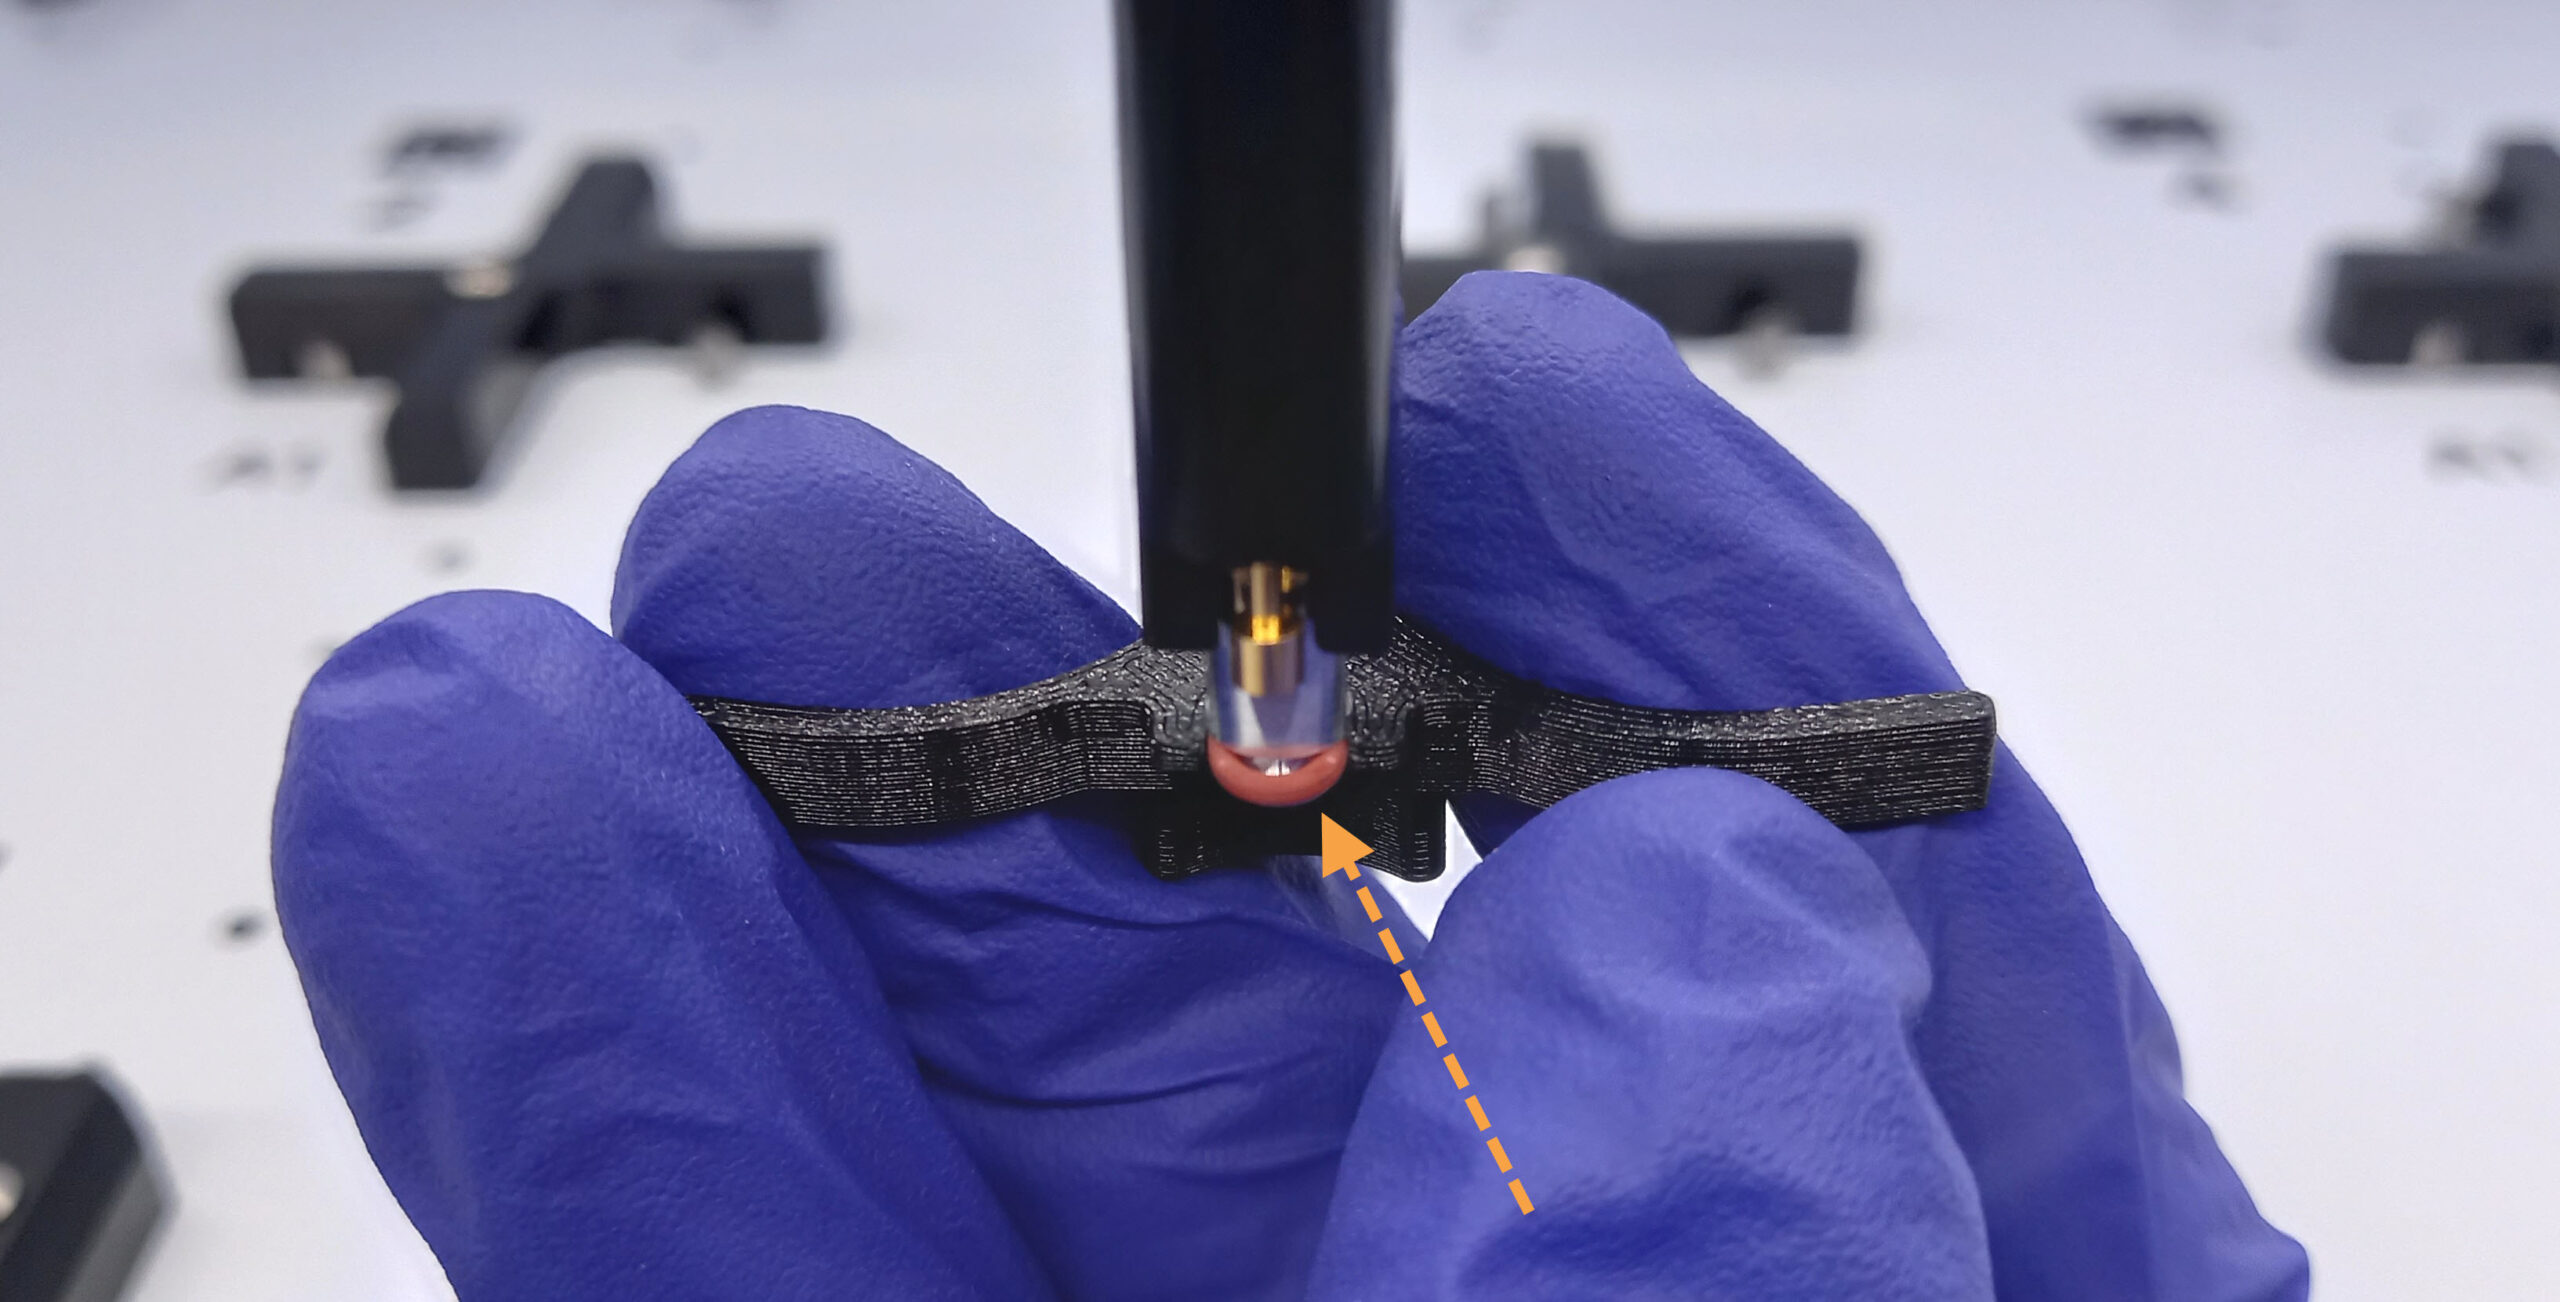
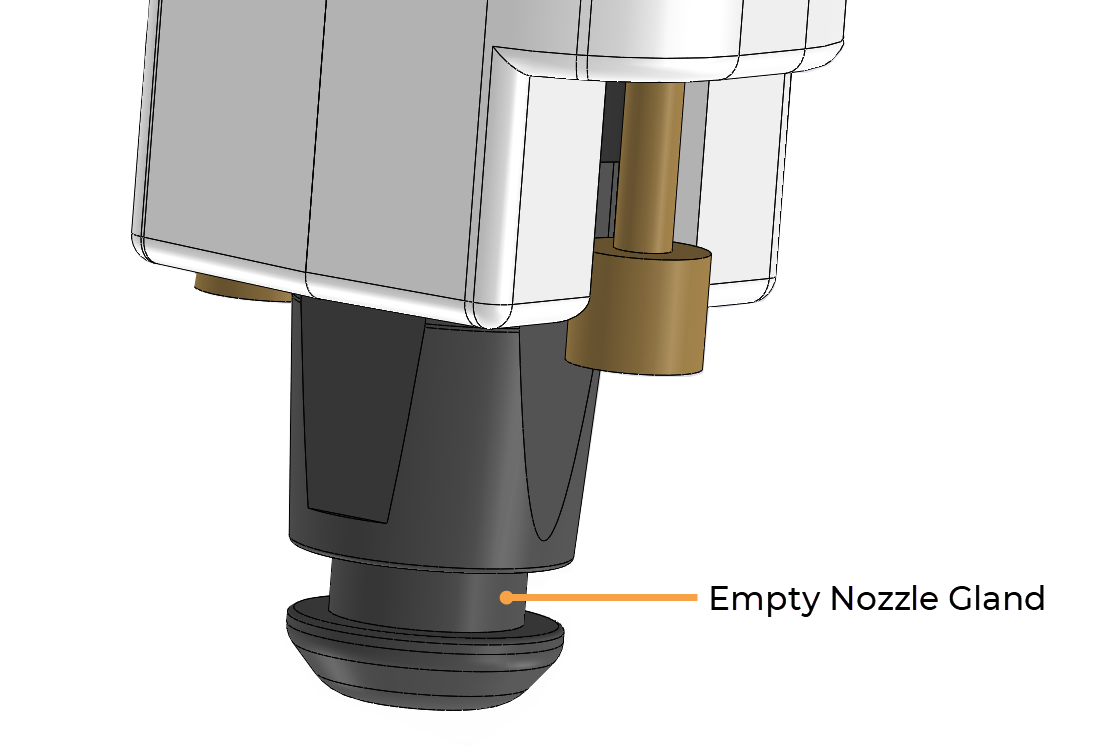
- Locate a small gap between the o-ring and the nozzle gland as seen in the image below.
- Use your thumb to pull down the o-ring.
- Carefully push the o-ring backwards while pulling back the removal tool to completely remove the o-ring from the nozzle gland.
- Repeat steps #1 to #6 to remove the other o-rings.
Installing O-Rings to the Pipetting Channels
Required Part:
- 80A o-ring
Required Tools:
- A pair of latex gloves
- Blue towels or KimWipes
Prerequisites:
- You have made sure the instrument is in idle mode or powered off.
- You wear a pair of latex gloves.
- You have checked the o-ring is not dirty, ripped, or scratched.
To install o-rings to the channel nozzles:
- Wipe the empty nozzle gland with a blue towel or KimWipes to clean it from dirt or built-up fibers.
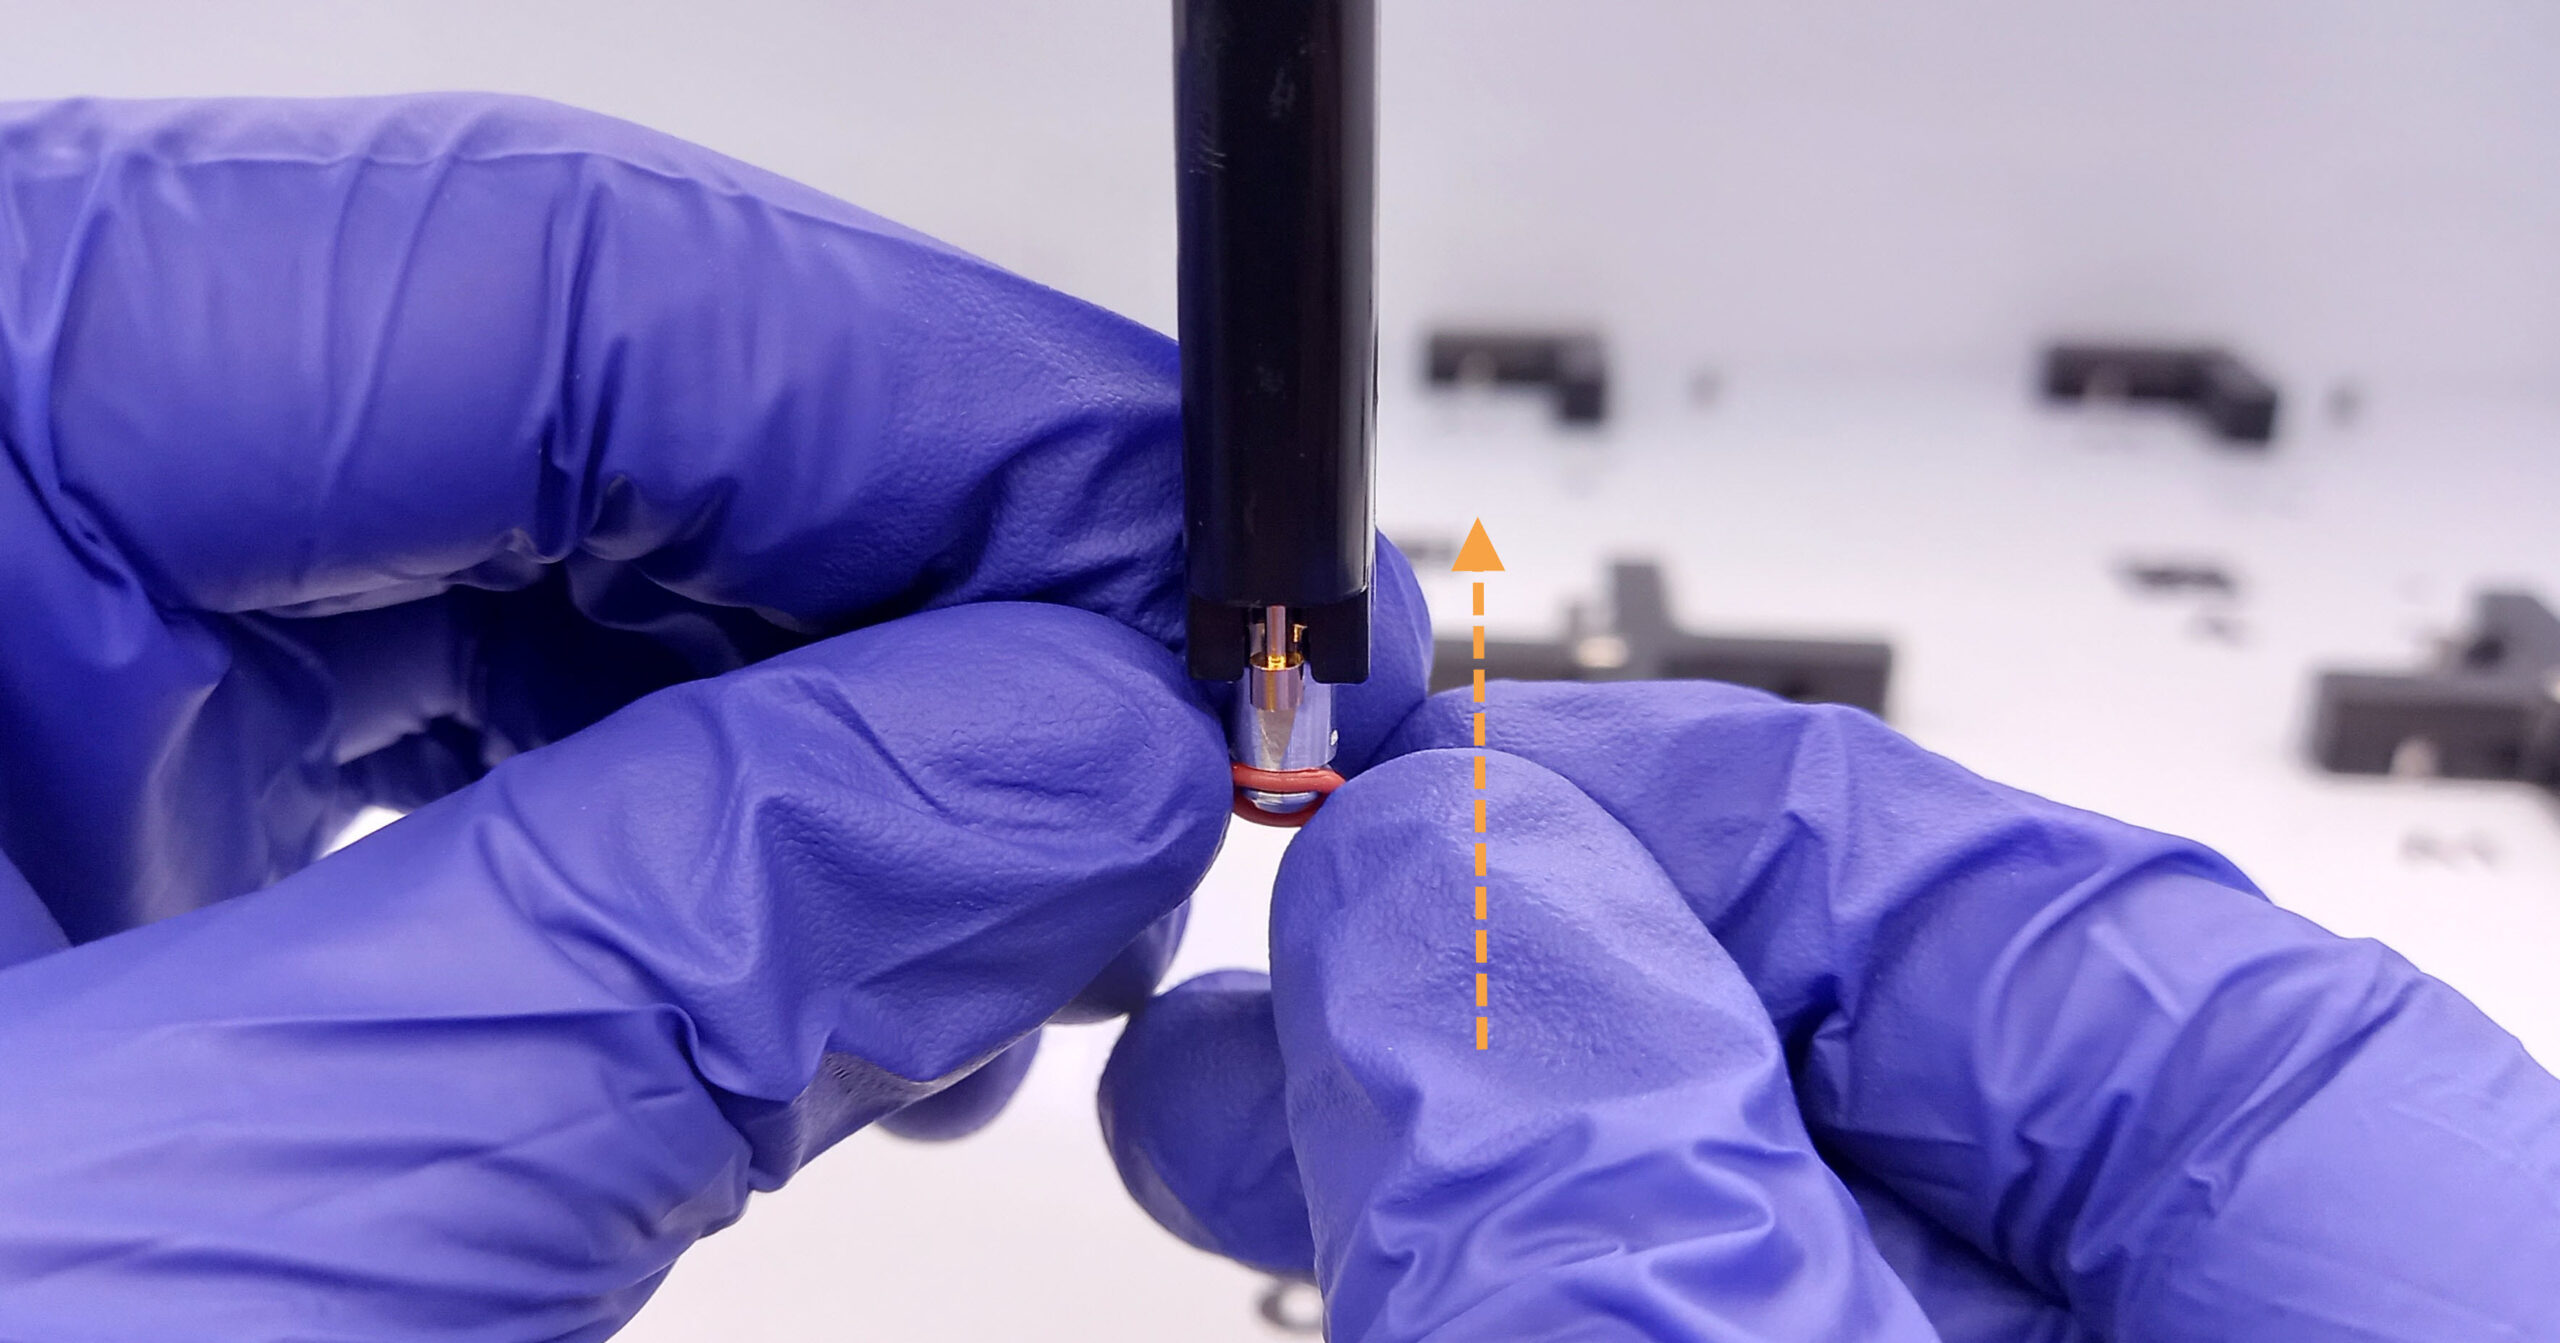
- Place the o-ring on the nozzle tip. Then, push it upwards to the nozzle gland. Make sure the o-ring is not twisted or skewed from the gland.
- Repeat steps #1 and #2 to install the other o-rings.
- The pipetting channels are ready to execute protocols again.
You can also watch the tutorial video below.
O-Ring Replacement Video Tutorial
Related Topics:
Updated on June 3, 2024
FORMULATRIX® is proudly powered by WordPress
