Creating a Serial Dilution
The Serial Dilution mode enables you to easily set up a stepwise dilution series at a set dilution ratio.
This guide provides the following sections:
Creating a Serial Dilution
Prerequisite:
- The required labware is present on the virtual deck in the Protocol Editor page.
To create a serial dilution:
- On the Navigator Bar, click the Serial Dilution button
 .
.
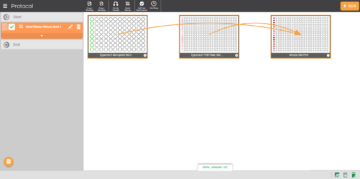
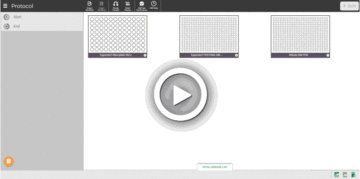
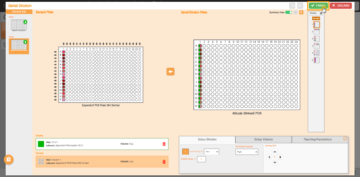
- Select the plate containing your diluent and sample, and then the plate where the serial dilution will be created. Then, click NEXT.
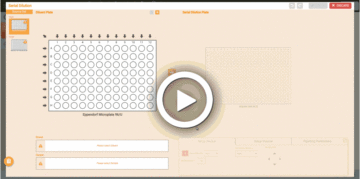
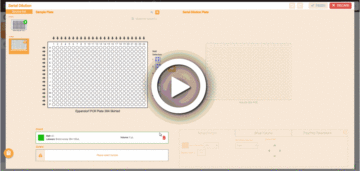
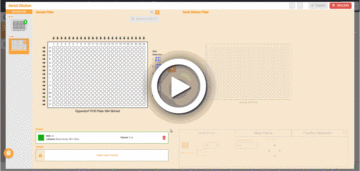
- Select the well locations of the diluent and sample in the corresponding plates as seen below.
Note: The Well Selection mapping patterns are only available if you use a 384-Well plate as your Sample Plate.
- Click
 to define the dilution and volume setup in the Serial Dilution Plate by following the steps below:
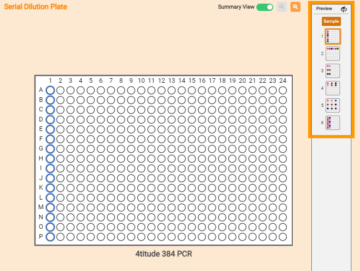
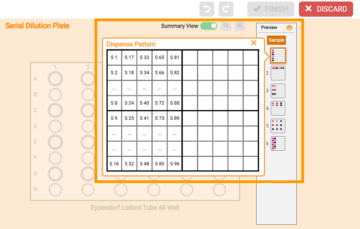
- OPTIONAL: Select the available mapping patterns from the Sample panel on the right side of the plate.
- Under the Setup Dilution tab, define the dilution configuration and set the starting well point.
- Define the sample volume under the Setup Volume tab. The FLO i8 will automatically calculate the diluent volume and notify if any volumes exceed well capacity. Click APPLY SAMPLE VOLUME to apply.
- OPTIONAL: Select the pipetting profile under the Pipetting Parameters tab. The default selection is Factory SD Profile, but you can either add a new profile or modify the existing profile. Click the Expand button
 to display the Pipetting Paramaters panel. Click APPLY when you’re done.
For more information, see Using the Pipetting Parameters.
Important: Modifications to an existing pipetting profile will also be applied in other steps and protocols in which that profile is used.
- Click FINISH to save the pipetting step and return to the Protocol Editor page.
Mapping Pattern Selection in Serial Dilution
- Well Selection options in Sample Plate are available when you use a 384-well plate.
- Sample pattern options in Serial Dilution Plate only appear when you map multiple wells from the Sample Plate in row or column.
Tip: You can see the mapping pattern preview by clicking on the Preview button  on the Sample pattern panel. For easier identification, the pattern preview is displayed in a quadrant.
Related Topics:
Updated on June 3, 2024
FORMULATRIX® is proudly powered by WordPress
